How to use a teleprompter on a Chromebook
Turn any Chromebook into a full-featured teleprompter right inside the browser. No downloads or administrator passwords, whether you are on a personal device or a managed school laptop.
Why a web-first teleprompter is built for ChromeOS
Traditional teleprompter setups depended on heavy desktop installers built for older operating systems. ChromeOS is built for the modern web, where you should not need software installers, device administration rights, or phone apps stretched across a laptop screen to run a professional prompting session.
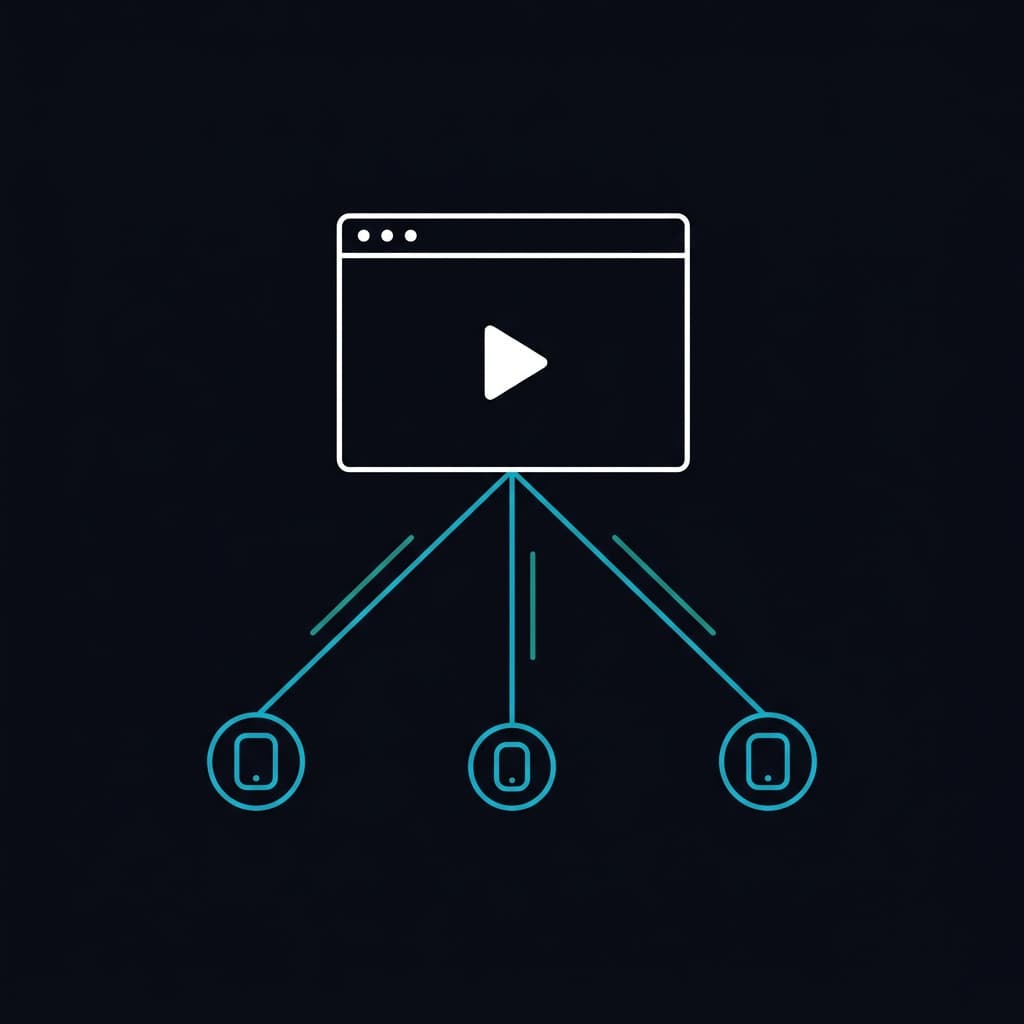
A web-based teleprompter runs directly where Chromebooks excel: inside a fast, secure browser. There are no app store approvals or IT tickets required, and the exact same session link opens seamlessly whether you are on a Chromebook, an iPad, a PC, or an external confidence monitor.
EasyPrompter was designed around this zero-install workflow, which is why school media programs and broadcast classes make it their standard: a Chromebook is a first-class prompting rig right out of the box.
Setting up in three steps
- 1
Write or paste your script
Create a script in the editor, or paste one in from a document. Formatting, section markers, and timed pauses are stored with the script, so they travel to every device that opens it.
- 2
Open the prompter
Open the script in the teleprompter. The reading view fills the browser window, and pressing F takes it fullscreen so the shelf and browser chrome get out of the way.
- 3
Control playback
Space starts and stops scrolling. The left and right arrow keys change reading speed while you read, so a pace that is slightly off can be corrected without stopping the take.
Setting up for a natural eye line
Before any setting inside the prompter, get the geometry right, because that is what decides whether a read looks like a read. Put the text as close to the lens as you can and keep it at roughly eye level: the smaller the gap between what you are reading and where the camera is, the more you appear to be looking at the viewer. A few inches of offset is visible on camera. On a Chromebook the webcam sits in the lid bezel above the screen, so keep the prompter at the top of the display, directly under the camera, rather than centred or low. If the framing allows it, sit further back as well, because the same eye movement reads as less obvious in a wider shot.
After that, two adjustments do most of the work: size and speed. Make the text big enough to read comfortably at the distance you actually sit, and if you find yourself squinting, go bigger still. Then start the speed slower than feels right. The scroll should follow your voice rather than pull it along, and a single rehearsal pass at your real distance and pace will tell you more than any number. Everything below is optional, and the defaults are a reasonable place to begin.
- To keep the active line as close to the camera as possible, set the cue marker to Arrow or Spotlight and drag it up the screen. The reading line moves with it, and the position is saved with the script.
- If your eyes visibly travel from side to side, raise the margin to narrow the text column. Narrowing the column is the standard fix for this, and it matters more on a laptop than on a large display.
- If you lose your place, the cue marker itself is the fix: Arrow puts a pointer in the margin, and Spotlight dims everything outside the line you are on.
- If the screen is hard to read under overhead lighting, high contrast forces pure black and white. Break on sentence end puts each sentence on its own line, which helps when the text is small.
Whatever you change is stored with the script rather than with the device, so a script you set up once opens the same way on the next Chromebook you sign in to.
Adding a second screen
A Chromebook driving a projector, a classroom TV, or a confidence monitor is the usual shape of a school media or live event setup. Open Displays in the teleprompter and choose Open Local Window for a second window you can drag onto the connected screen, or scan the QR code from a tablet or a second laptop to connect it over the network.
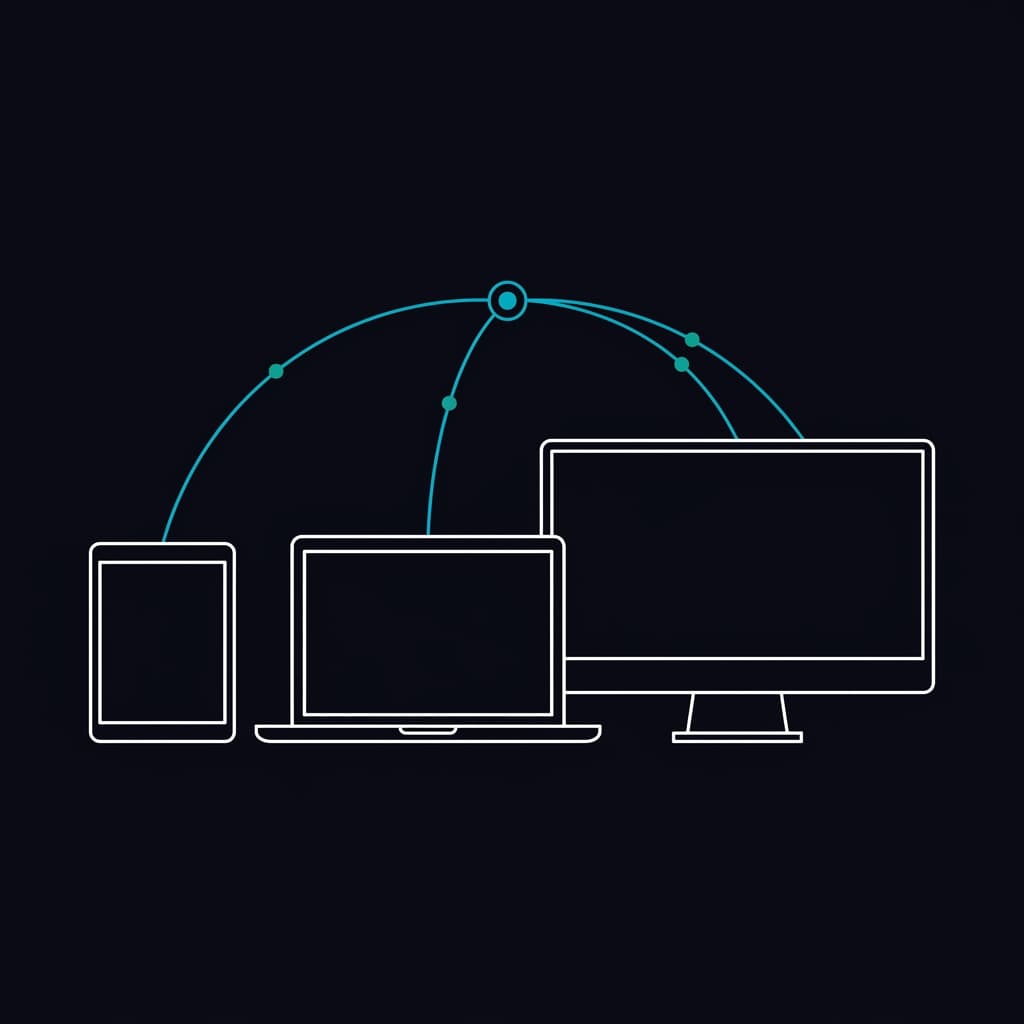
Connected displays stay in sync with the operator. Speed, font size, and scroll position are driven from the Chromebook, and the person reading sees clean text, because the section markers you navigate by are hidden on viewer displays. Remote and local displays covers the full range of what can be connected.
Connected viewer availability and display limits vary by plan. The pricing page lists the current options.
Keyboard control, which is the point on a Chromebook
The keyboard you already have is the fastest remote in the room. Space plays and pauses. The up and down arrows scrub backward and forward while held. Left and right change speed. The ] and [ keys jump between section markers, and M opens the marker list, where typing a number jumps straight to that section. F toggles fullscreen, and Escape returns to the top of the script.
Every one of these can be remapped, which matters if you use a Bluetooth pedal or a presentation clicker. Most clickers register as ordinary keyboard events, so mapping one is a case of clicking the action you want and pressing the button.
What school media programs should check
Because nothing installs, there is no request to file with whoever manages the device fleet. What does need checking is the browser and the network: EasyPrompter needs a modern browser with JavaScript enabled, and the site has to be reachable rather than blocked by a content filter.
Accounts are per person. If students each keep their own scripts, they each need an account. If the program wants scripts owned by the department rather than by whoever happened to create them, that is what an organization workspace does, with roles deciding who can edit and who can only present.
Members who only present, rather than edit, do not consume a paid seat.
What the free plan covers
The free plan saves up to 2 scripts and plays scripts up to 500 words, which is enough for a short piece to camera but not for a full bulletin. Free prompting also shows an EasyPrompter Free Edition watermark on the reading view and on any connected display.
Ideal for quick takes and practice
- Up to 2 saved scripts
- Up to 500 words per script
- Watermark on prompting screen
For daily news and broadcast production
- Unlimited scripts and word length
- Phone QR remote control
- Multiple clean synchronized displays
- No watermark anywhere
Paid plans lift both limits and add phone remote control, more viewer displays, and editing while offline.
Prompt from a Chromebook, with nothing to install
Open a browser, paste in a script, and start reading. The free plan does not ask for a card.
Start free